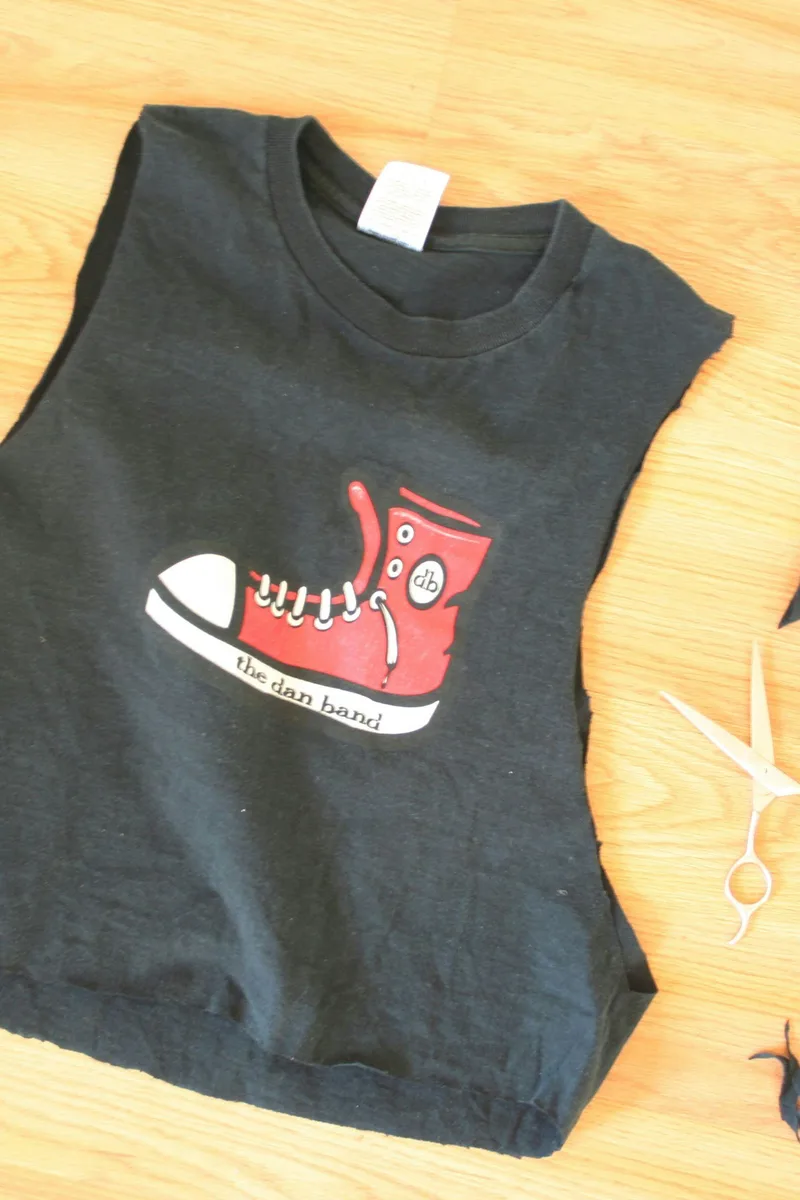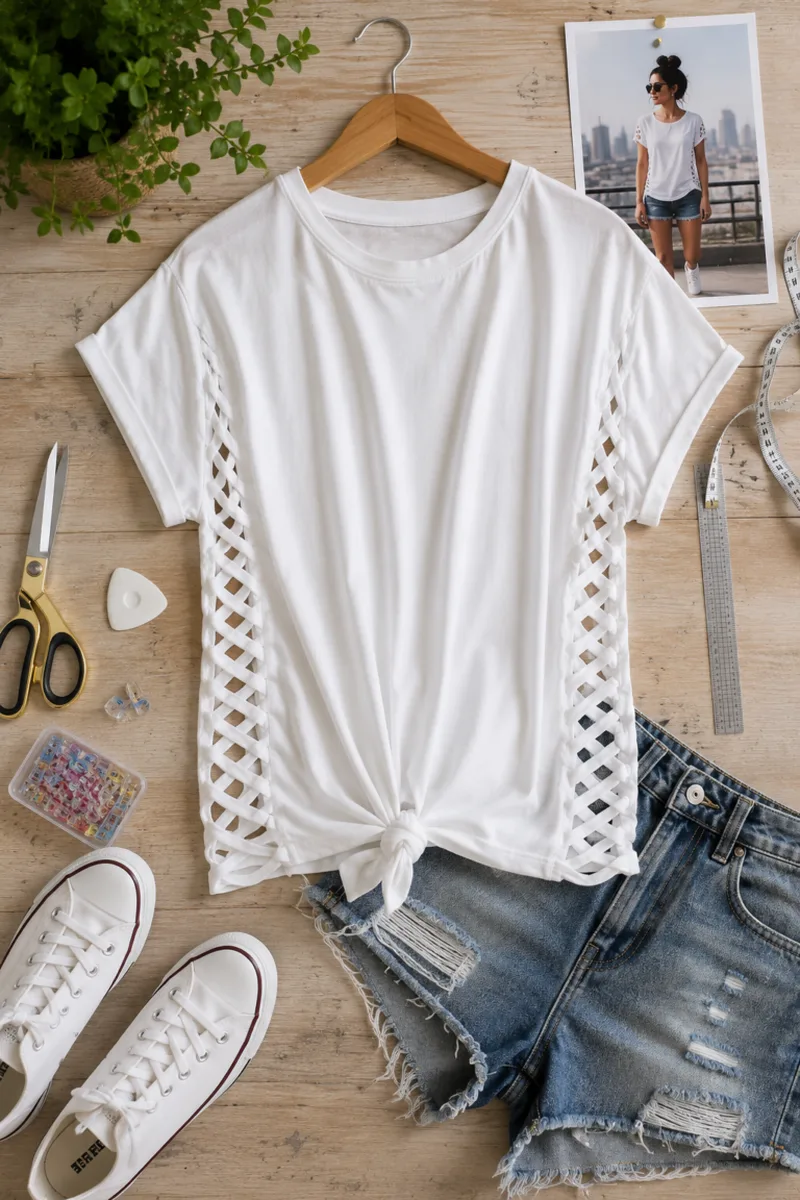
15 Cut Shirt Designs DIY Ideas That Actually Look Good in 2026
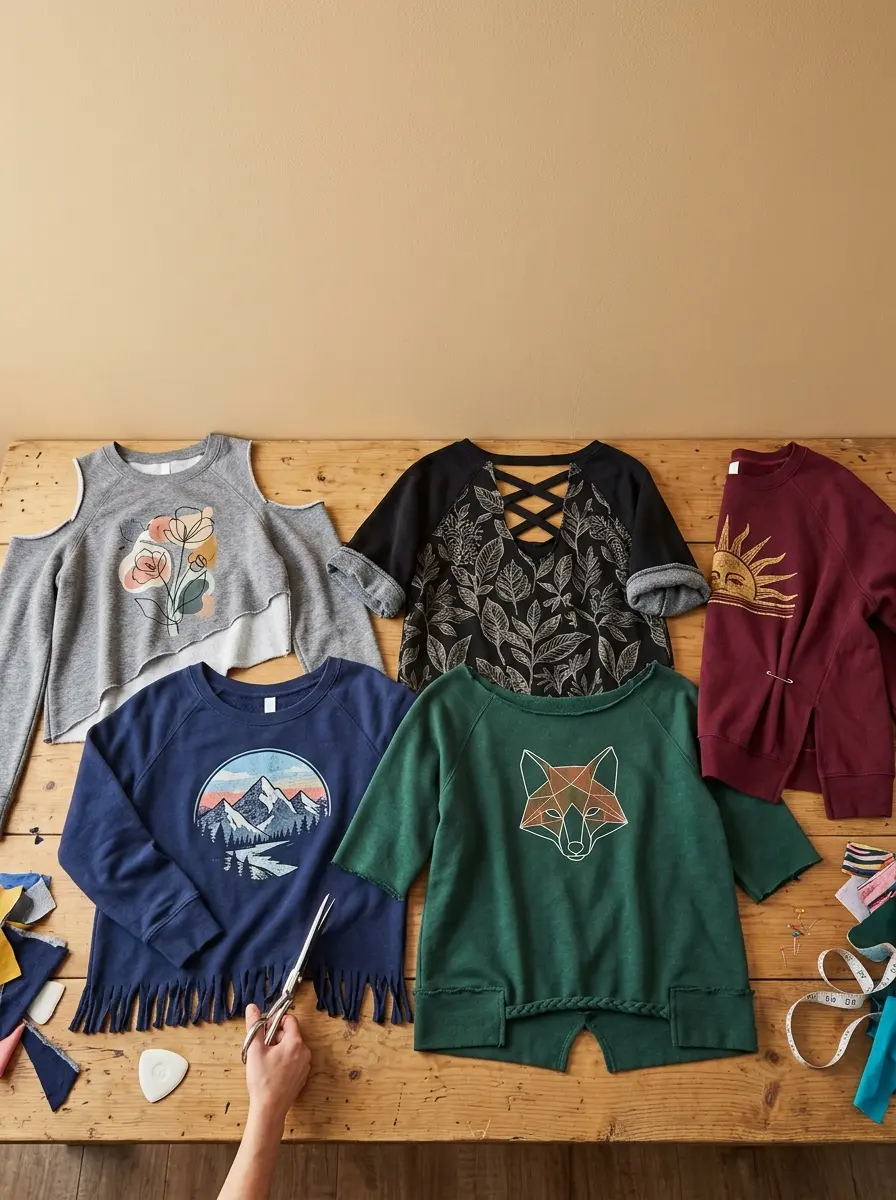
Scissors in hand, a pile of old shirts nearby, and zero idea where to start — sound familiar? The truth is cutting shirts isn’t the hard part. Making those cuts look intentional and stylish is what trips most people up. Done right, a few snips can completely transform a basic tee into something you’d actually want to wear. Done wrong, it just looks messy. This guide breaks down 15 cut shirt design ideas that are beginner-friendly, budget-free, and genuinely wearable in 2026 — no sewing machine required for most of them.

Below are 15 cut shirt designs DIY ideas, picked for creativity, ease of execution, and real Pinterest-worthy results.


How to Cut a T-Shirt the Right Way

Before touching your scissors to any fabric, it pays to understand a few basics that make the difference between a clean result and a ruined shirt.

Not all fabrics behave the same way after cutting. Cotton knits roll and soften naturally at the edges, while woven fabrics can fray badly if not finished properly.

Always use fabric scissors: Regular craft or kitchen scissors drag the fabric and leave jagged, uneven edges that look sloppy.

Mark before you cut: Use fabric chalk or a washable marker to draw your lines first so nothing is left to guesswork mid-cut.

Test the stretch direction: Pull the fabric both ways before cutting — horizontal cuts will stretch more than vertical ones, which affects how necklines and hems behave.

Cut with slow, controlled strokes: Long, smooth cuts look far cleaner than short, choppy snips, especially on curved lines like necklines.

Taking five extra minutes to prep and plan before cutting is what makes the finished shirt look thought-out rather than accidental.


How to Design a Simple Shirt That Stands Out

Sometimes the most wearable DIY cuts are also the most minimal ones. You don’t need dramatic cuts to make a shirt feel completely different.

A small back slit, a slightly widened neckline, or a tiny shoulder detail can shift the entire energy of a plain tee without turning it into a craft project gone wrong.

Proportion matters more than complexity: A single well-placed cut often looks more polished than several rushed ones covering the whole shirt.

Think about your outfit first: Consider what you’ll pair the shirt with — high-waist jeans, shorts, skirts — before deciding where and how much to cut.

Less is genuinely more here: The most Pinterest-worthy cut shirt styles tend to be the ones that look almost effortless, with one or two deliberate details done cleanly.

The goal is a shirt that feels uniquely yours while still being something you’d confidently wear out of the house.


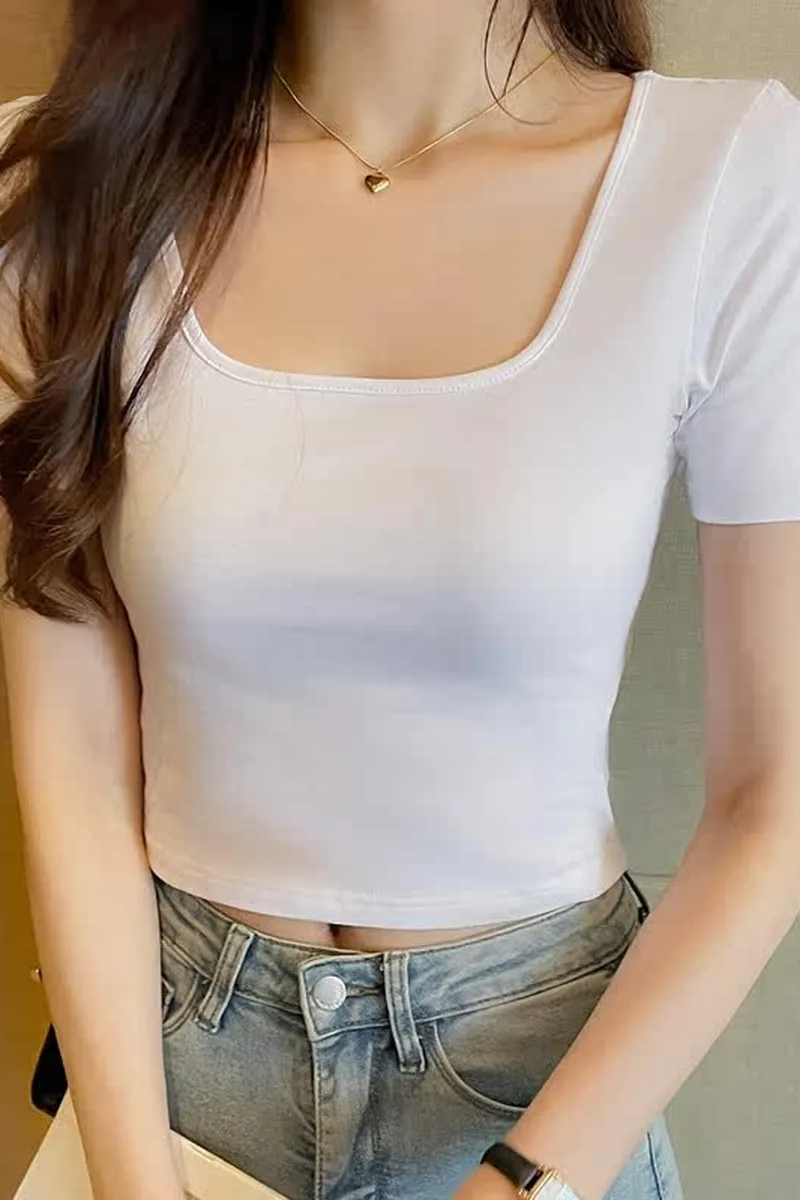
Square-Neck Crop Cut

This is one of the cleanest, most flattering DIY cuts you can do on a basic cotton tee. The square neckline adds structure and frames the collarbones beautifully.

It works especially well on stretchy jersey fabric because the edges stay smooth and defined after cutting without needing any stitching.

Trace the square shape first: Use a ruler and chalk to draw a symmetrical box neckline before cutting — symmetry is everything with this style.

Fold the shirt in half: Cut through both layers at once when drawing the neckline shape so both sides are perfectly even without measuring twice.

Pair with high-waist bottoms: The cropped length hits perfectly above the waistband of high-rise jeans or skirts for a put-together casual look.

This design is beginner-friendly, takes under ten minutes, and delivers a result that looks far more polished than the effort involved.


Graphic Sweatshirt Upgrade

Plain sweatshirts are the perfect blank canvas for adding bold, personalized graphic details using iron-on vinyl or cut fabric appliqués.

You don’t need to be artistic — simple geometric shapes, bold letters, or abstract designs cut from contrasting fabric pieces can completely transform a basic pullover.

Use a cotton or fleece sweatshirt: These materials hold iron-on vinyl well and provide a sturdy base for fabric adhesive appliqués that actually last through washing.

Cut stencil shapes by hand: If you don’t have a cutting machine, simple shapes like triangles, circles, and arcs cut freehand add a modern, handmade aesthetic.

Apply heat evenly and firmly: When using iron-on vinyl, press for the full recommended time and let it cool completely before peeling to ensure it bonds securely.

This upgrade works beautifully as a personalized gift idea or for creating matching group shirts without spending anything on custom printing services.


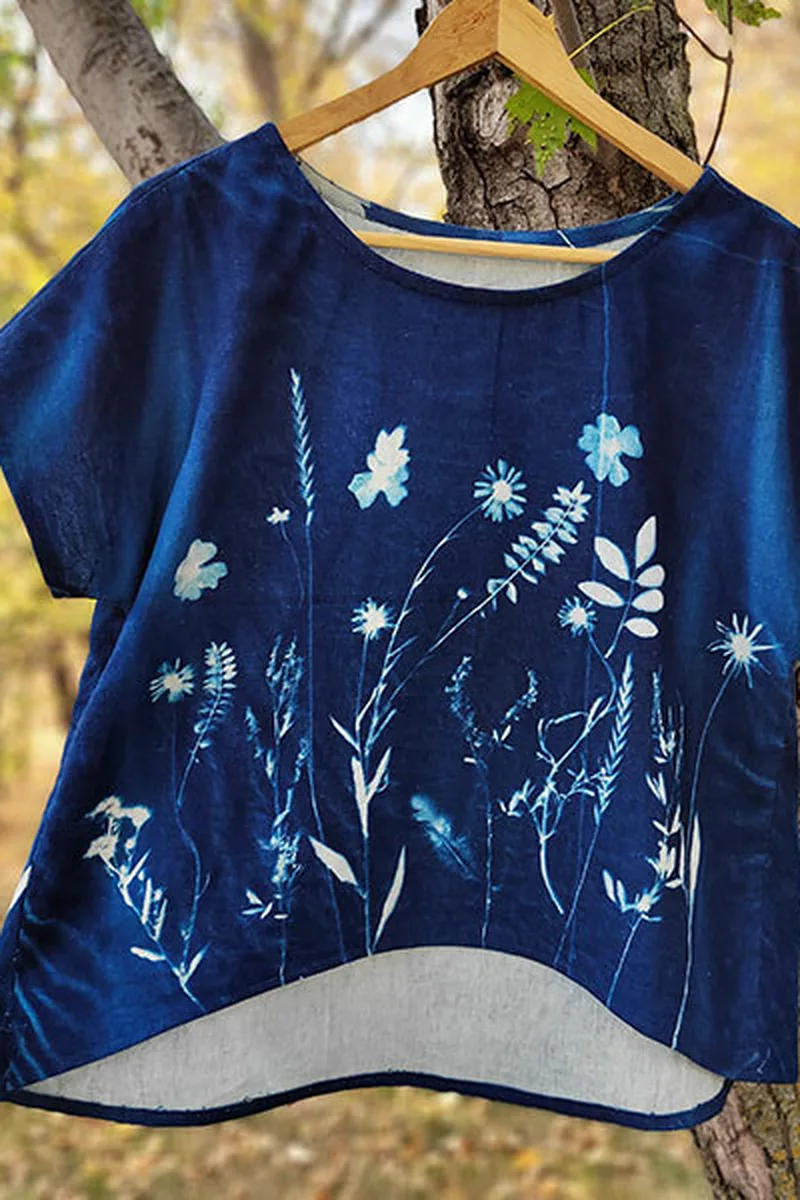
Loose Botanical Cut Tee

An oversized shirt with a widened, softly cut boat neckline creates an effortlessly relaxed look that flatters virtually every body type.

The key is starting with a genuinely oversized shirt so the fabric has enough room to drape naturally once the neckline is opened up.

Go slow on the neckline curve: Cut in small increments and try the shirt on between each trim — a boat neck that’s too wide slips off the shoulders constantly.

Finish edges with fabric glue: A thin line of clear fabric glue along the cut edge gives a cleaner finish than leaving it completely raw, especially on looser weaves.

Style it casually: This relaxed cut works best worn as-is over shorts or tucked slightly at one side into wide-leg pants for that easy, artsy everyday aesthetic.

Light cotton fabric in a floral or botanical print makes this style feel cohesive and intentional rather than just an oversized shirt you threw on.


Cut-Out Waist Detail

A strategically placed waist cut-out takes a plain dress or longline shirt from completely ordinary to genuinely eye-catching in minutes.

The center waist placement is the most flattering option because it creates the illusion of a defined waist while keeping the overall silhouette clean.

Mark the exact center carefully: Fold the garment in half vertically first to find the true center, then mark the cut-out shape symmetrically on both sides of the fold.

Finish the edges with bias tape: Wrapping the raw edges in bias tape gives the cut-out a neat, professional look and prevents the fabric from curling or fraying over time.

Add side ties for adjustability: Cutting thin strips at each side of the opening and tying them into a bow lets you control exactly how open or cinched the cut-out looks.

This detail looks especially dramatic on a solid-color midi dress and photographs incredibly well, making it a go-to design for content creators and fashion-forward Pinterest pins.


Cropped Sweatshirt Cut

Cropping a sweatshirt is genuinely one of the easiest DIY clothing transformations you can do — and the results are immediately wearable with almost any outfit.

The raw-edge finish that comes from just cutting without hemming actually looks intentional on a sweatshirt, giving it that relaxed, lived-in aesthetic that’s everywhere in 2026.

Mark the crop length while wearing it: Put the sweatshirt on and use chalk to mark exactly where you want the hem to land before laying it flat to cut.

Cut slightly longer than your mark: Leave an extra half inch below your chalk line since the fabric tends to ride up slightly after cutting, especially on stretchier materials.

Leave the raw edge or hem it: An unfinished edge gives a casual, street-style vibe, while a quick fold-and-glue hem looks cleaner and slightly more polished for dressier outfits.

This works with any old sweatshirt you’ve outgrown the fit of — the cropped version almost always looks better than the original anyway.


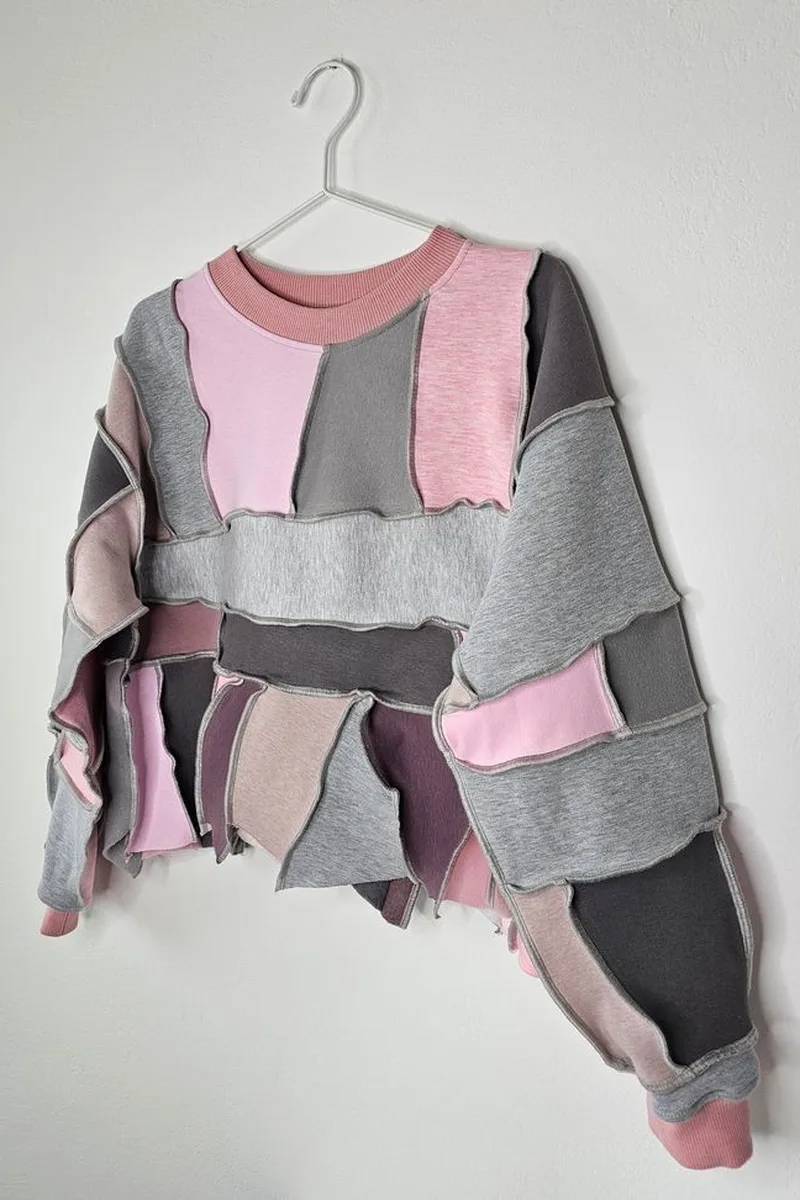
Color-Block Panel DIY

This creative cut goes beyond basic trimming by combining two different shirts into one bold color-blocked piece that looks genuinely artistic.

The technique involves cutting the front panel from one shirt and attaching it to the body of another in a contrasting color or pattern for a layered, deconstructed aesthetic.

Choose contrasting colors or textures: The more distinct the two fabrics are from each other, the stronger and more intentional the color-block effect looks when worn.

Use fabric glue for a no-sew option: If you don’t want to stitch, a strong fabric adhesive along the seam line holds panels together surprisingly well after washing.

Oversized fit hides seam imperfections: Looser garments are far more forgiving for this kind of panel attachment, making the technique much more beginner-friendly than it looks.

This is a brilliant way to use two worn or stained shirts — cut away the bad sections and combine the good parts into something completely new.


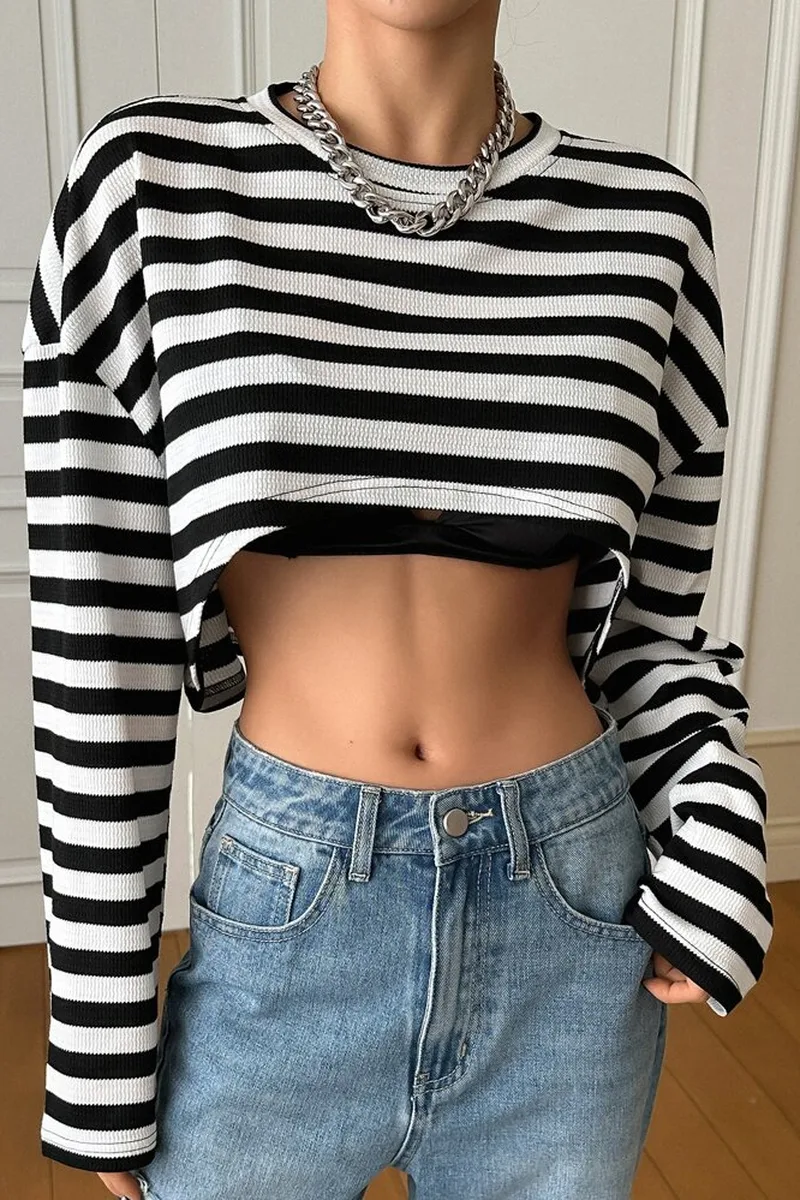
Striped Long-Sleeve Crop

Taking a fitted striped long-sleeve and cropping it just above the natural waist plus adding folded cuffs to the sleeves creates a look that feels both retro and current at the same time.

The stripe pattern adds visual interest so even a very simple cut has a lot of style impact without needing any additional details.

Cut the hem slightly higher than expected: Striped crops look best when they sit just at or slightly above the natural waistline — too long and the proportions look off entirely.

Double-fold the sleeve cuffs: Rolling the sleeves up twice and pressing them flat with your hand creates a neat, structured cuff that stays in place better throughout the day.

Wear with wide or relaxed-fit bottoms: The fitted nature of the long-sleeve crop pairs best with looser pants or wide-leg denim to balance the silhouette visually.

Ribbed cotton or a slight stretch fabric works best here because it holds the cropped shape without the hem curling or rolling up awkwardly after washing.


Tied Shoulder Cut-Outs

Shoulder cut-outs with a knotted tie finish are one of the most charming and flirty DIY details you can add to any graphic or solid tee.

The knotted ties soften what would otherwise be a sharply cut hole, giving the design a relaxed, summery feel that works perfectly for warm-weather dressing.

Cut oval or circular shapes: Oval openings along the shoulder seam look more elegant and intentional than square cuts — use a small bowl or lid as a tracing template.

Leave enough fabric to tie: When cutting, keep the strips on each side of the opening long enough to tie into a small, loose knot without the fabric pulling or puckering.

Layer over a bralette or bandeau: The shoulder gaps look especially good when a colorful bralette or tank is visible underneath — it turns a one-layer cut into a styled outfit detail.

This technique works on practically any shirt style and takes less than fifteen minutes from start to wearable finished piece.


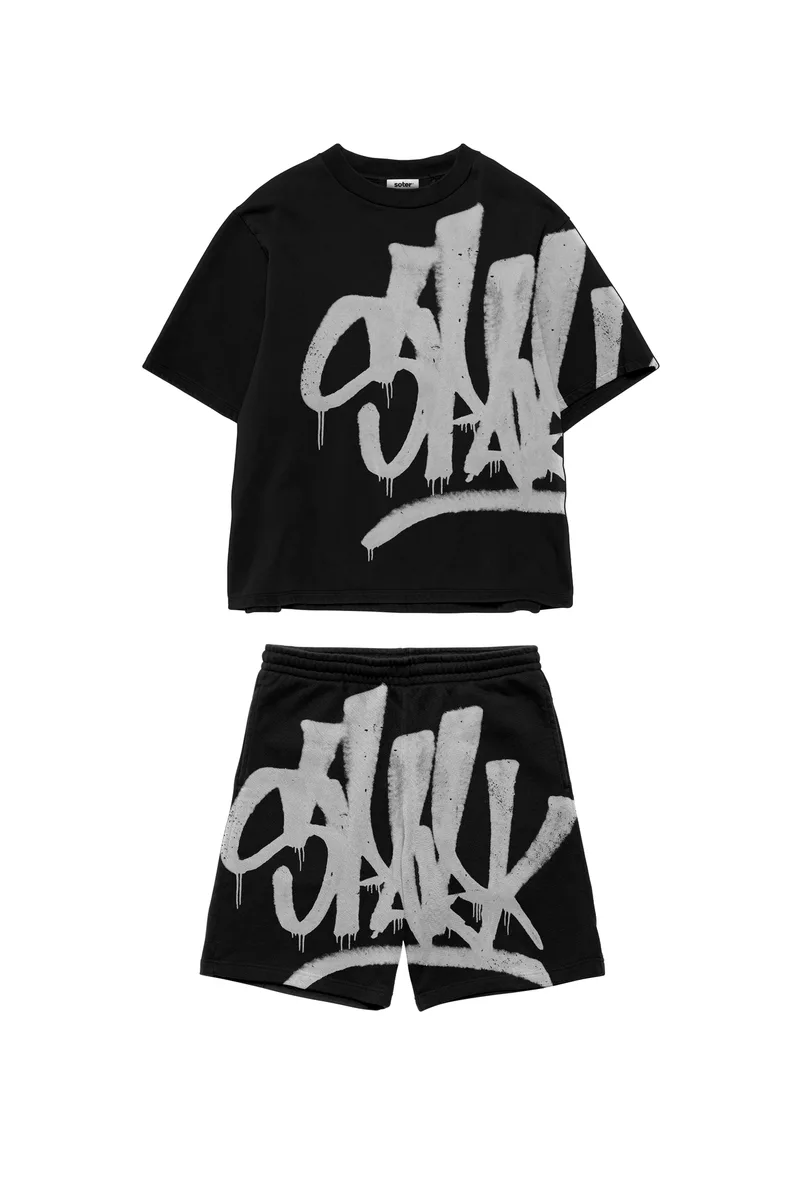
Matching Shirt Set DIY

Creating a coordinated two-piece set from a single oversized printed shirt is one of the most satisfying DIY fashion projects — the result genuinely looks like something you’d buy at a boutique.

The technique involves using the top half as an open layering shirt and converting the bottom half into a pair of matching shorts or a small skirt for a complete vacation-ready set.

Start with a bold print: The busier and more colorful the original shirt’s pattern, the more cohesive and intentional the matching set looks when worn together as a pair.

Cut the shirt in half cleanly: Use a ruler to draw a perfectly straight horizontal cutting line across the shirt so both pieces start with an even, workable edge.

Add a waistband to the shorts: Folding the top edge of the bottom piece over an elastic band creates a functional waistband that keeps the shorts from sliding down while wearing.

Wearing both pieces together with a bright solid-colored tee underneath ties the whole look together and makes it clear this was a planned outfit rather than a random pair of pieces.


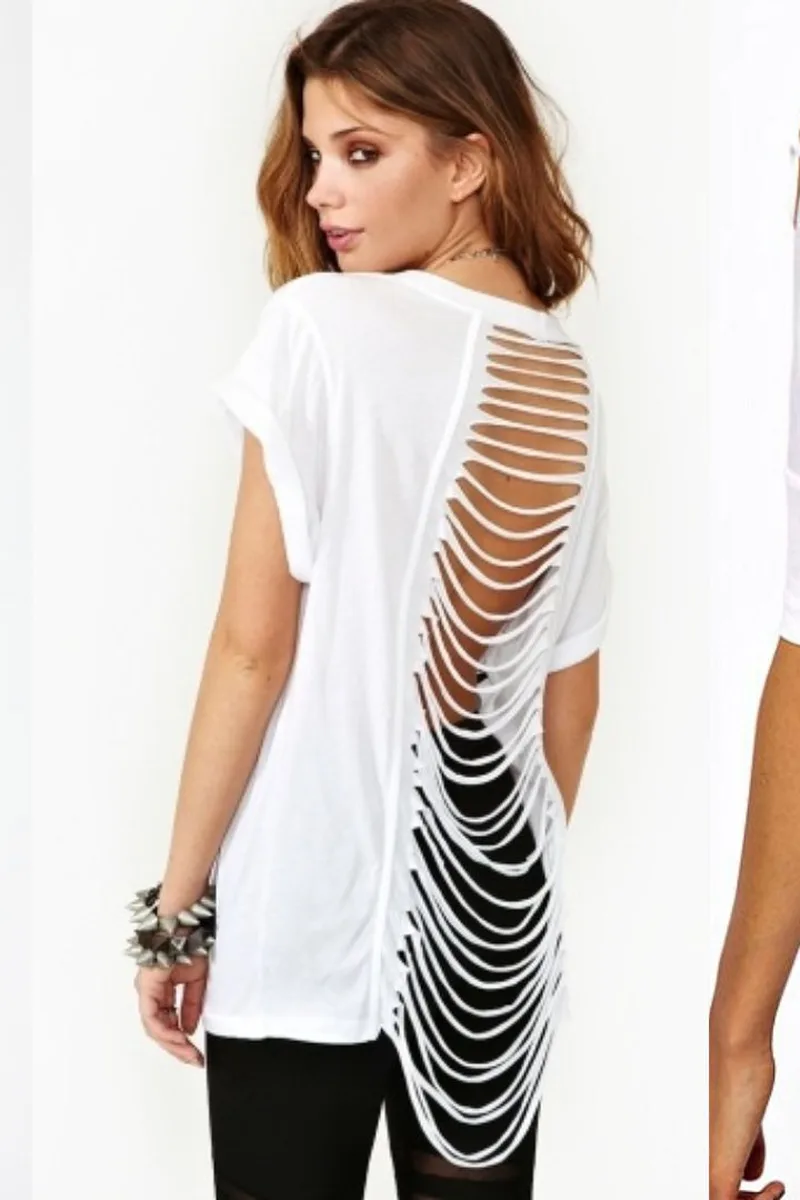
Off-Shoulder Tie-Back Tee

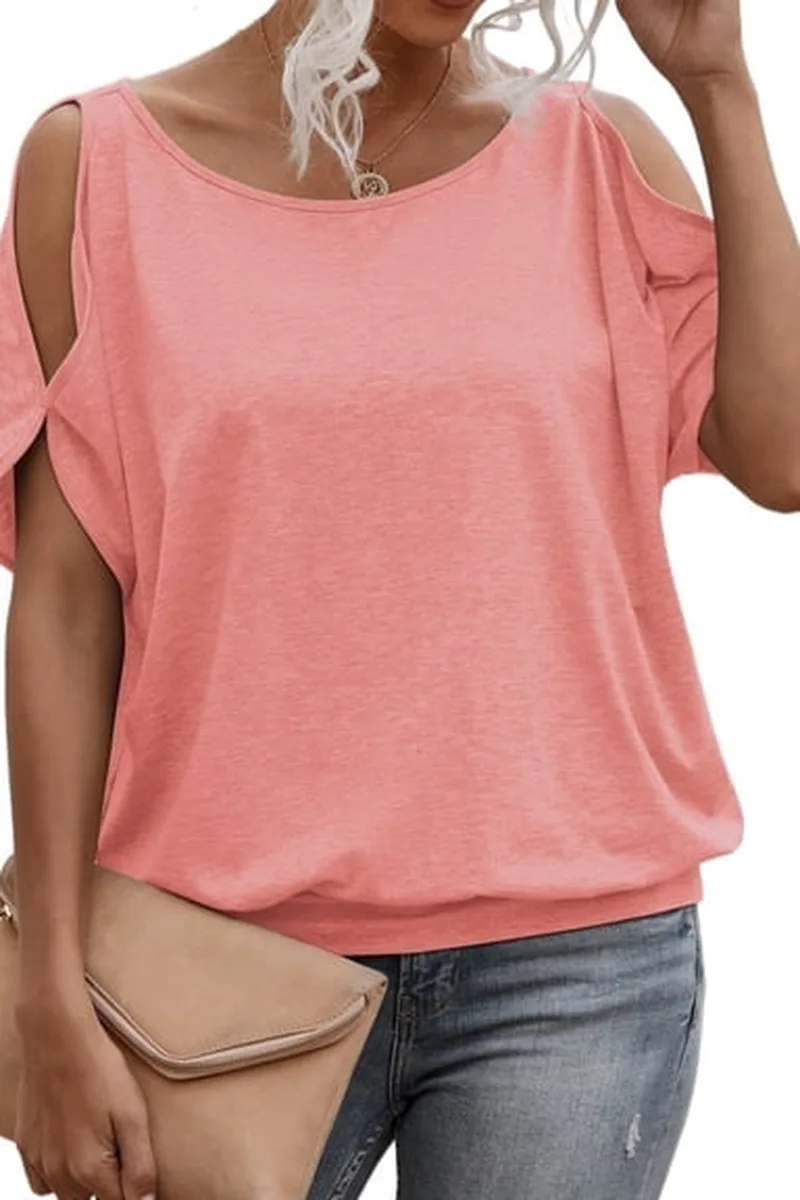
Transforming a basic sports or athletic tee into an off-shoulder style with a tied back detail creates a top that works equally well for casual weekend wear and active styling.

The diagonal neckline cut gives one-shoulder coverage while the opposite side drops lower, creating an asymmetrical silhouette that’s flattering and distinctly fashion-forward.

Cut the neckline diagonally from one side: Start higher on one shoulder and curve the line lower across to the opposite shoulder for that relaxed one-shoulder drape effect.

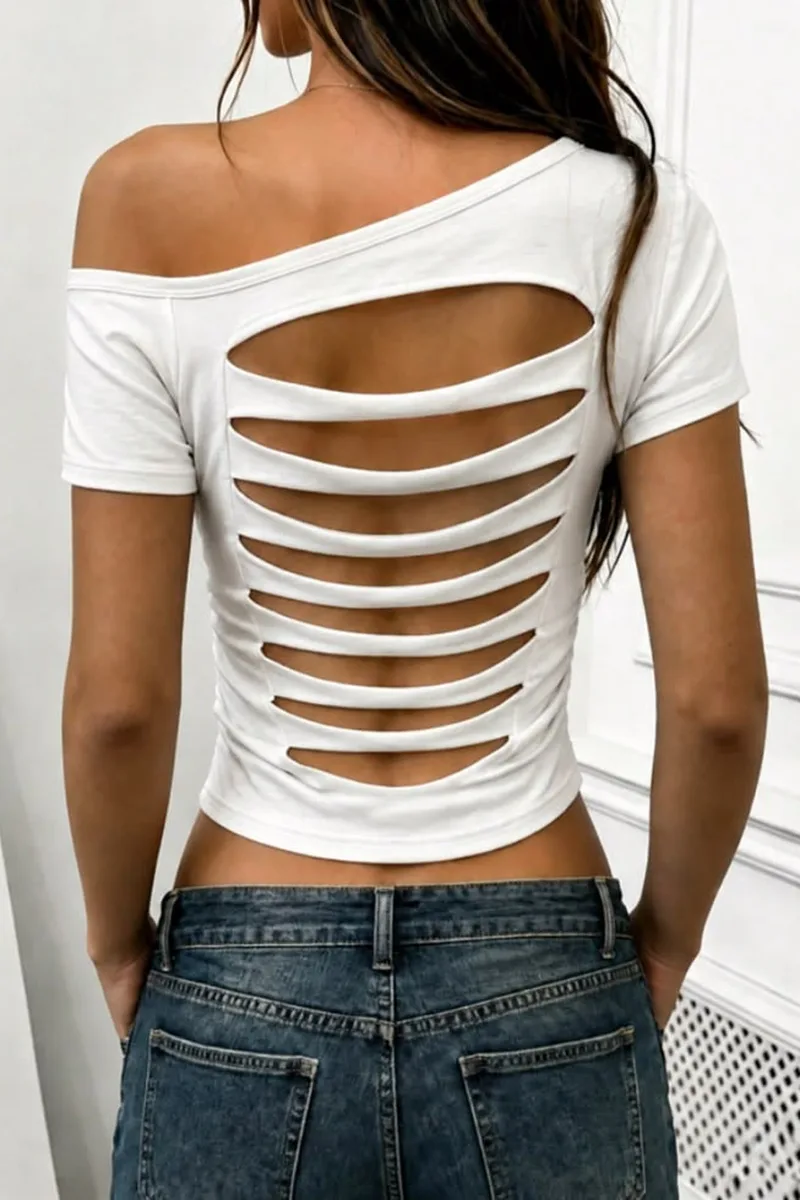
Keep the back slits narrow: Small, neatly spaced horizontal slits across the lower back of the shirt create ties that cinch the fabric when knotted for a fitted silhouette.

Try it on before tying the back: The knot placement dramatically changes how the shirt fits at the waist — adjust the position higher or lower before committing to a tight final knot.

This style looks especially good on athletic or performance-fabric shirts because the material drapes smoothly and the back ties hold their shape without stretching out.


Crochet Cardigan Refashion

Repurposing an old oversized crochet sweater or a loose-knit blanket into a lightweight open-front cardigan is a sustainable and genuinely creative way to rework forgotten knitwear.

The open texture of crochet makes the fabric visually interesting from every angle, so even a simple straight cut down the center front creates an impressive finished piece.

Cut the front opening slowly and straight: Use sharp scissors and take your time cutting a clean vertical line through the center front — any wobble in the cut shows clearly in open-knit fabric.

Finish edges with a crochet border: Adding a single crochet stitch along the cut opening edge with a matching yarn color prevents the knit from unraveling and adds a polished, finished look.

Style over simple basics: A white fitted tank or black bralette underneath lets the open crochet texture show beautifully without competing with a busy print or pattern beneath it.

This refashion idea works perfectly for transitional weather — breezy enough for warm days but layered enough for cooler evenings outdoors.


Fringe Hem Crop Tee

A fringed hem crop tee is one of the most instantly recognizable DIY shirt styles, and it’s genuinely one of the easiest techniques to pull off well with minimal tools.

The movement the fringe creates as you walk gives the shirt a lively, energetic feel that’s perfect for summer days, concerts, and beach trips.

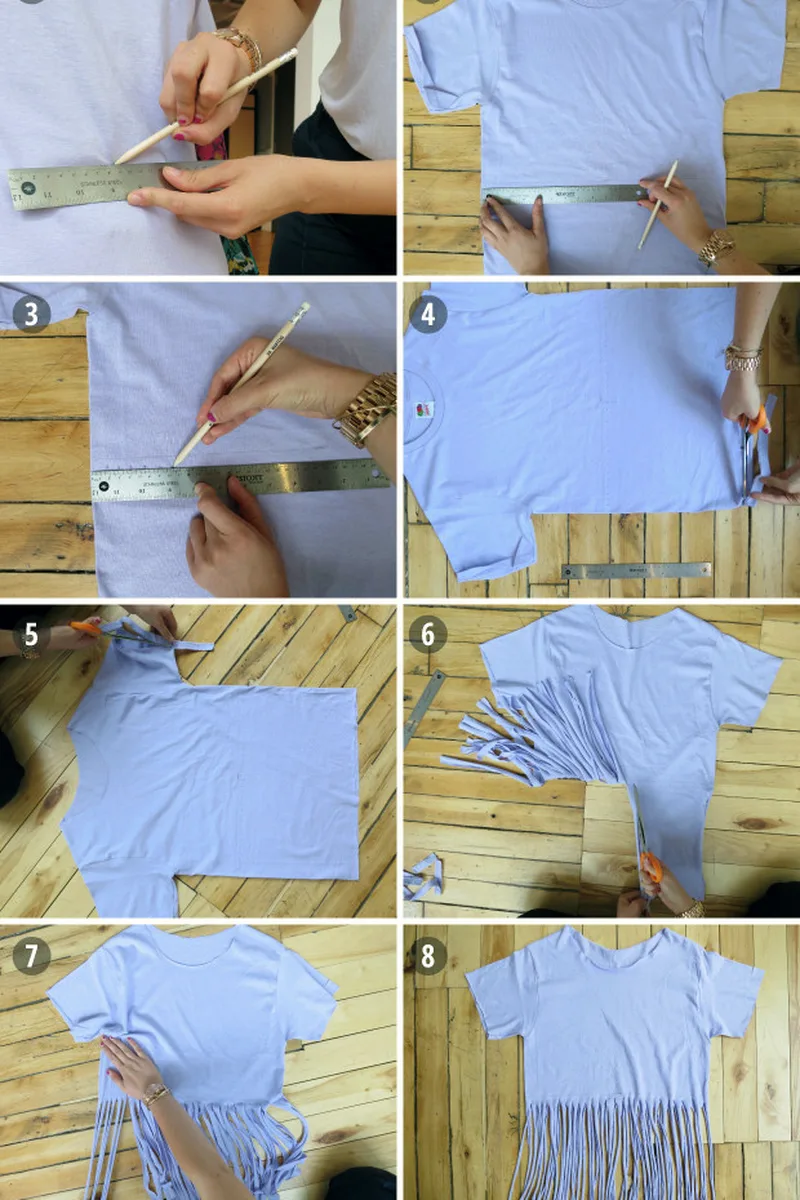
Cut the crop length first: Decide on your desired crop height and cut straight across the shirt before starting the fringe so your fringe strips all begin from the same baseline.

Keep fringe strips even in width: Use a ruler and chalk to mark vertical strip guides before cutting — consistent half-inch to one-inch wide strips look intentional while uneven ones look rushed.

Pull each strip downward after cutting: Gently tugging each fringe strip lengthwise after cutting encourages the cotton edges to curl naturally, which creates that soft, well-worn fringe texture.

Adding small wooden beads or simple knots at the ends of the fringe strips takes the basic design up a level and makes the finished shirt feel more like a festival-ready statement piece.


Strappy Neckline Cut DIY

A crisscross strap detail cut directly from the shirt’s own fabric is one of the most clever DIY techniques because it uses no extra materials while creating a built-in decorative neckline element.

The resulting X-shaped strap sits right at the collarbone and turns a completely plain neckline into something that looks deliberately designed.

Cut a wide V first: Start with a V-neck opening at the center front, then cut two thin strips on either side of the V to create the material for the crossover strap design.

Tie or stitch the straps at center: Crossing the strips and securing them at the center with a small hand stitch or a simple overhand knot holds the crisscross shape in place all day.

Keep the strips narrow and even: Wide strips lose the delicate strap aesthetic — aim for about a quarter to half inch width per strip for a refined, jewelry-like neckline detail.

This style is especially popular for group themes and matching outfit events because it’s quick to replicate across multiple shirts with very consistent results.


Halter Off-Shoulder Cut

Combining a halter neckline with off-shoulder styling on a single shirt creates an edgy, bold look that turns any basic band tee or graphic top into a statement piece.

The narrow center tie strip that forms the halter neck is cut directly from the shirt’s existing neckline fabric, so the whole transformation requires no additional materials whatsoever.

Cut a wide scoop across the front and back: Remove the existing collar entirely by cutting a broad, even curve on both front and back — this creates the off-shoulder base for the design.

Leave a one-inch strip at center front: When cutting the front neckline, stop before cutting the very center — this remaining fabric strip becomes the halter tie that goes around the neck.

Tie the halter strip securely: Bring the center strip up behind the neck and tie it at the nape — adjust the tightness so the shirt sits comfortably on the shoulders without slipping.

Worn with high-waisted ripped jeans and chunky sneakers, this halter off-shoulder cut delivers a rock-inspired, effortlessly cool aesthetic that photographs exceptionally well.


Knotted Fringe Transformation

Taking fringe one step further by knotting pairs of strips together creates a woven, macramé-inspired hem pattern that adds real visual texture and structure to any basic shirt.

This technique produces a completely different look from regular fringe — the knotted pattern catches the eye and makes the shirt feel artisan-crafted rather than just casually cut.

Cut fringe strips at consistent lengths: Longer strips give you more knot placement options and a more dramatic hem effect — aim for at least four inches of fringe length per strip.

Knot pairs from adjacent strips together: Take one strip from one section and one from the strip directly next to it, tie them once at the same height all the way across for a uniform woven pattern.

Add a second row of knots below: Taking the two halves from adjacent first-row knots and tying them together a half inch lower creates a diamond lattice pattern that looks genuinely intricate.

Soft cotton fabric works best for this technique because the knots lie flat and the strips hang evenly — stiffer fabrics bunch up and make the knotted pattern look uneven and messy.


Frequently Asked Questions

Q: What is the best type of shirt to use for cut shirt DIY designs? A: 100% cotton or cotton-blend jersey knits are ideal. They don’t fray badly, the edges roll naturally, and they hold their shape well after cutting without needing finishing.

Q: Do I need a sewing machine for any of these cut shirt designs? A: Most of these styles are completely no-sew. Fabric glue and hand stitching handle any finishing needed. Only the crochet cardigan and color-block panel benefit from sewing.

Q: How do I keep my cut lines from looking crooked or uneven? A: Always mark your lines with fabric chalk and a ruler before cutting. Folding the shirt in half for symmetrical cuts and cutting slowly with long strokes prevents jagged lines.

Q: Can I do these cuts on a shirt that has already been washed many times? A: Yes — well-worn cotton actually cuts more cleanly because it’s softer and less stiff. Just make sure the scissors are sharp since older fabric can resist dull blades more.

Q: How do I stop fringe strips from curling up instead of hanging straight? A: Pull each fringe strip firmly downward after cutting to pre-stretch it. This encourages the edge to roll inward slightly and hang more naturally with good drape rather than curling sideways.

Q: What is the most beginner-friendly cut shirt design from this list? A: The cropped sweatshirt cut and the fringe hem crop tee are both excellent starting points. Both require only a single straight cut and produce results that look great with minimal skill.


Why Cut Shirt DIYs Are Taking Over Pinterest in 2026

Upcycled and reworked fashion is having its strongest moment in years, and cut shirt designs are at the center of that creative shift. The combination of zero cost, instant gratification, and deeply personal results makes this one of the most saved and shared categories on Pinterest right now.

What makes these designs perform so well visually is the dramatic before-and-after contrast. A $3 thrift store tee becomes a strappy halter, a fringed festival crop, or a matching two-piece set — the transformation is tangible and inspiring in a way that resonates deeply with Pinterest audiences looking for both creativity and practicality.

The other reason this trend keeps growing is accessibility. You don’t need any prior sewing experience, expensive materials, or a dedicated craft space. Scissors, chalk, and a flat floor are genuinely all it takes to execute most of these designs — and that low barrier to entry keeps new people discovering and sharing the results constantly.


Snip, Style, Repeat

Cut shirt DIYs are one of those rare creative projects where the results actually match or exceed the inspiration photos — especially once you understand the basics of fabric behavior and take time to mark your cuts properly. Every shirt in your closet that no longer fits or excites you is really just a design waiting to happen.

Start with something you already own that you wouldn’t miss if it went sideways. A thrift store tee, an old band shirt, a sweatshirt you’ve had since college. One clean cut is all it takes to see the potential — and once you do, the pile of shirts waiting for their transformation will only grow.

The best cut shirt designs don’t come from following instructions perfectly. They come from understanding the techniques well enough to make small adjustments and creative decisions on the fly. Learn the basics from this list, then start putting your own spin on every single idea.

Related Ideas

Leave a Reply

Your email address will not be published. Required fields are marked *